
Setting up an Instant Bank Pay form
Before you get busy creating your form, you will need to create two pages.
Thank-you page: This is the page users will be directed to by GoCardless when their payment has been processed.
Exit redirection page: This is the page users will be directed to by GoCardless if they cancel the payment process once they have submitted the form.
These pages can be different for every form, giving you the flexibility to tailor your messages appropriately.
Once you have those set up, you can continue. Create a new form and save it. We’ll add some fields later.

In the form settings, select GoCardless and click the button to add a new feed.

A feed name has been auto-generated for you. In the Instant Bank Pay settings below this, enter a payment description. As this will appear on GoCardless emails, it should be meaningful to the customer, reminding them what the payment is for (maximum 255 characters).
If the transaction amount will always be the same for this form, enter this amount. (The currency applied will be the default currency selected in the Gravity Forms settings.) There’s no need to include a currency symbol, e.g. for £25.59 enter 25.59
If the transaction amount will depend on form entries, leave the amount field blank.
Adding fields to your form
Product fields and a Total field
The Gravity Forms form editor provides a group of fields called Pricing Fields. Adding these to your form brings you tons of flexibility to describe your product, add quantities, the option of a user-defined price (great for donations), tiered prices, shipping and more.
If you also add a Total field (which we recommended), this will contain the sum of all amounts from the product fields.

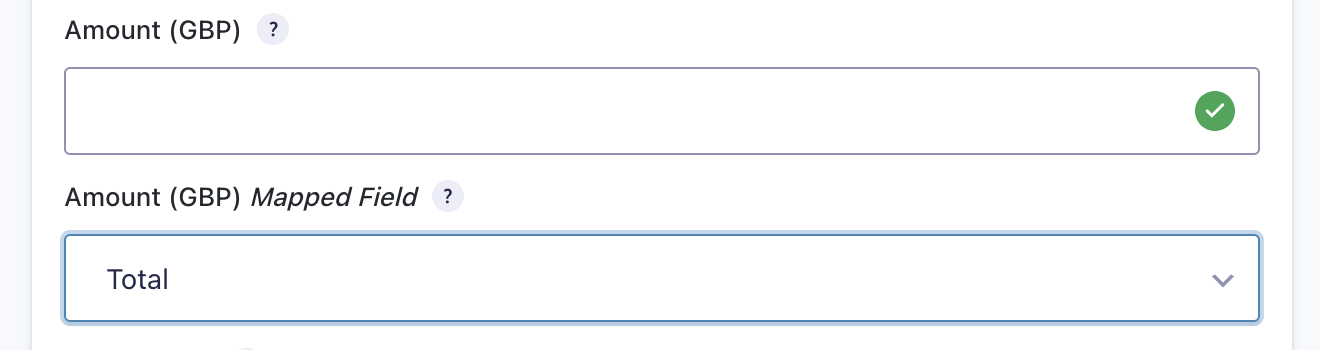
Now save the form and return to the form feed. To use the Total field you just created, leave the Amount blank and use the drop-down selector to map the Amount to the Total field. The amount in this Total field will be validated against the transaction minimum and transaction limit defined in the Gravity Forms GoCardless settings and when the form is submitted, this amount will be submitted to GoCardless for processing.
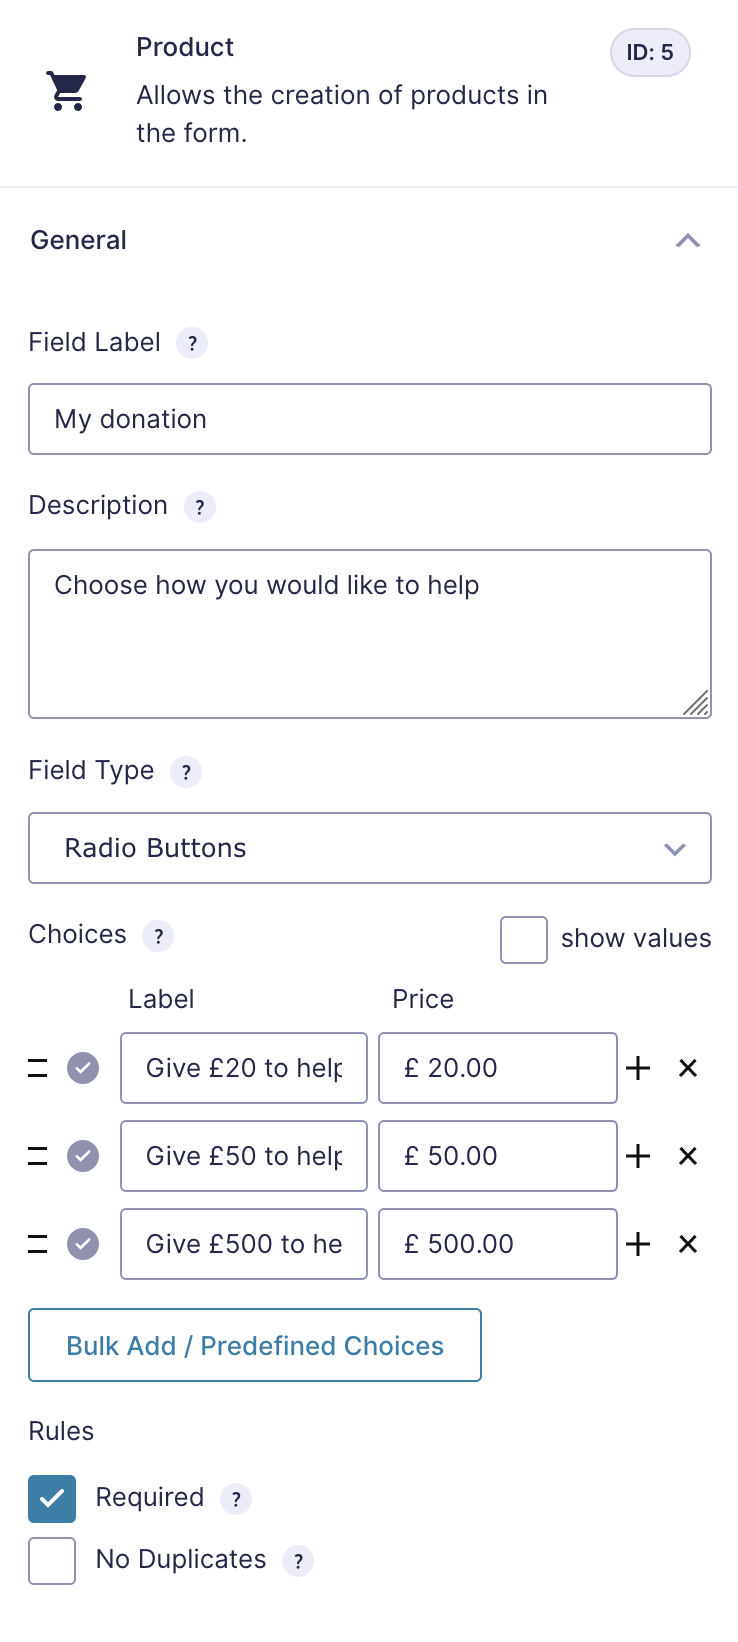
If you’d prefer to offer the customer a set of fixed choices, (perhaps to accept donations with suggested amounts), you could change the field type of your product field to use selector buttons or a drop-menu menu instead, like this:
This will create a payment section field like this:

Metadata
These are optional. If you don’t need them, skip this section. GoCardless allows you to tag a transaction with up to 3 items of metadata, consisting of a key and value pair. IBP uses one of these pairs to add an order number to the transaction. (The order number is derived from the form’s entry ID and can be customised.)
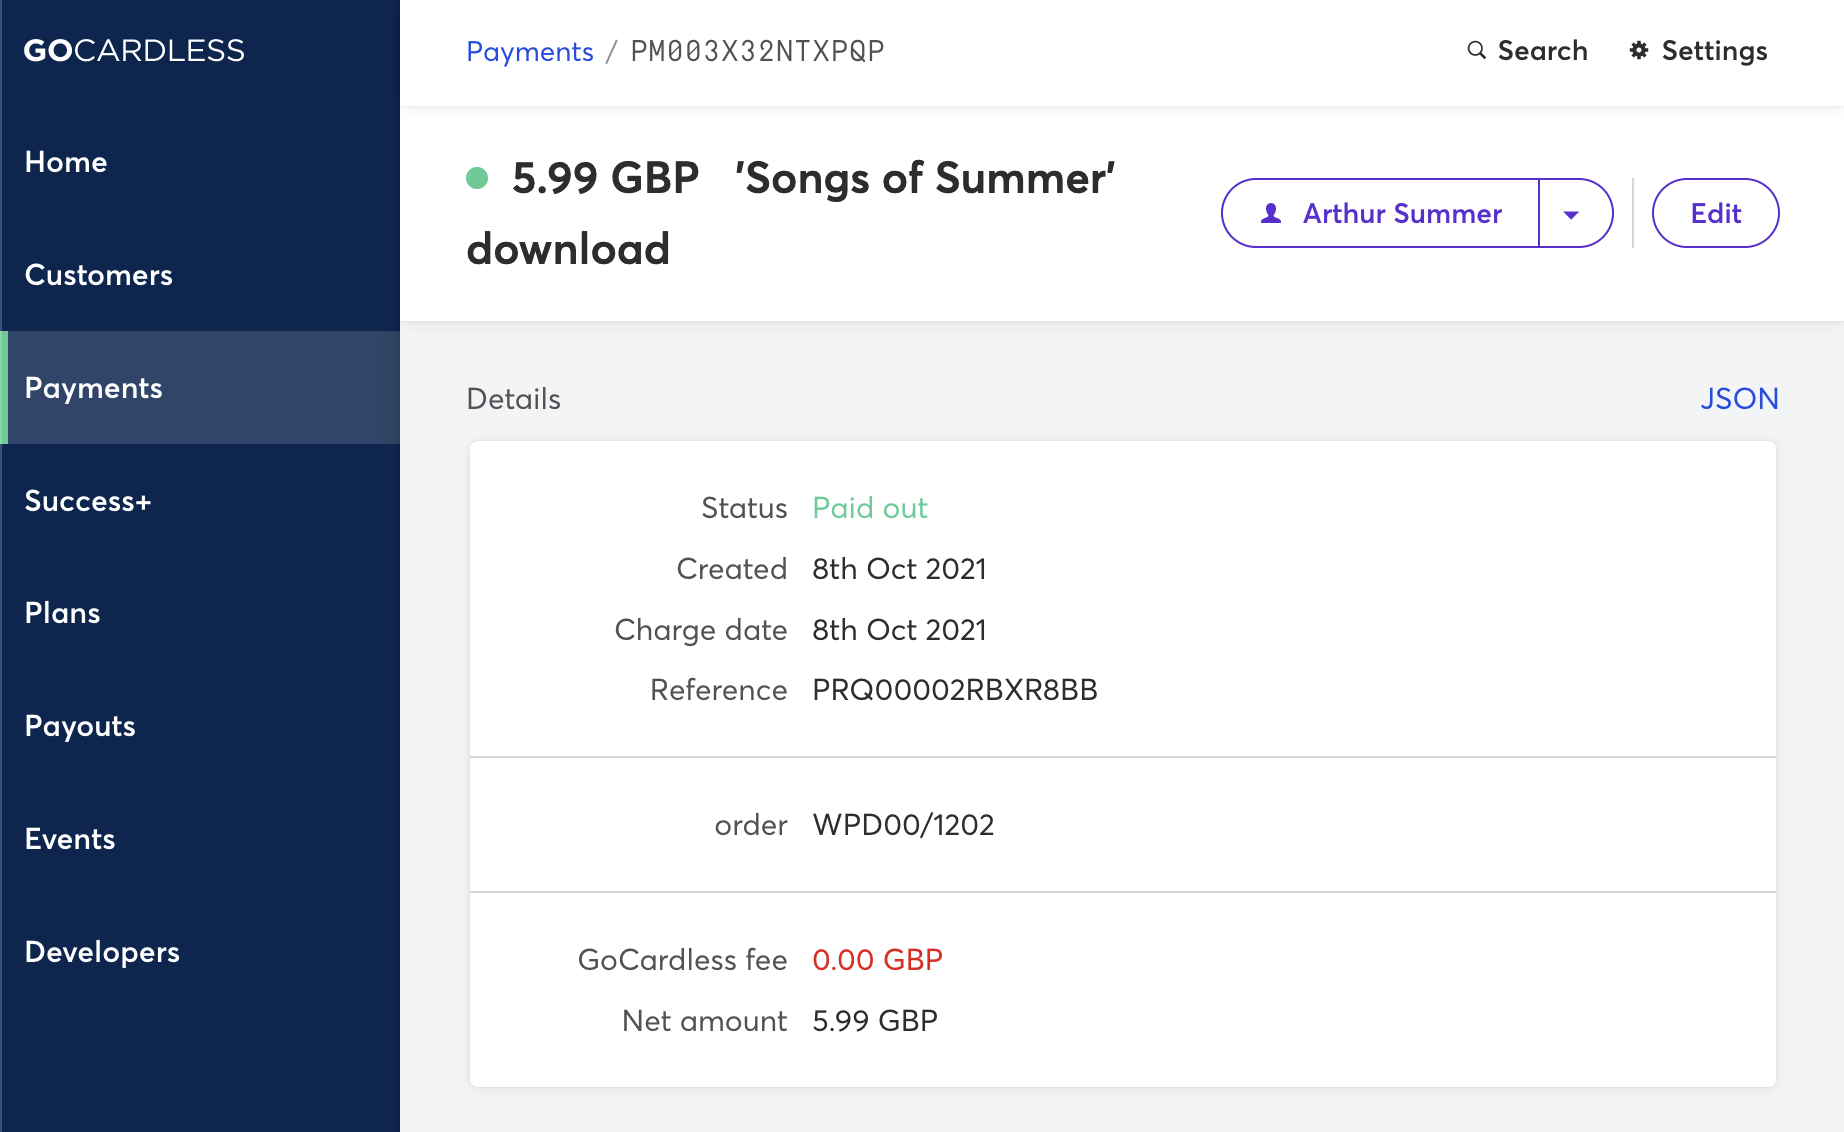
The order metadata (WPD00/1202 in this example) has been added to this payment by the IBP app. Other metadata, if configured on the form’s feed, would appear below.
You can add another pair by entering the metadata key on the form feed and mapping it to a value entered on the form, or selecting from several available values in the drop-down, such as the IP address of the user, or time of day, page visited, etc.

Exit redirection page

We mentioned earlier that you will need to create a page that the user will be returned to if they don’t complete the GoCardless payment process. Select this page from the drop-down menu.
Conditional logic

By default, the form will be passed to IBP for processing, and from there, over to GoCardless, however you can disable this using conditional logic. For example, perhaps you also offer payment by credit card or by PayPal. By adding a payment method field to your form, the user can select their preferred payment method. With conditional logic you can test the value entered in this field to find out which method they prefer, and then disable Instant Bank Pay if they chose another method of payment. If you do the same with your other payment feeds, this avoids the possibility of them paying more than once.
An example Instant Bank Pay form
Here’s what a form might look like when embedded into a page on this website. Note that the style is automatically picked up from your active theme’s style.

Our example form has a single product with a fixed price and a quantity field. Shipping is added to the total.
We also capture the user’s email address.
Here’s how the form looks in the form editor.

Confirmation settings
GoCardless will need the URL of a page on your website to redirect the customer back to after completing the GoCardless payment process. You cannot use the text confirmation type with Instant Bank Pay. We mentioned earlier that you should set up a thank-you page landing page where you can tell the customer what to expect now that their payment has been submitted. Select this page in the confirmation settings.

Notifications
Notifications are not essential but recommended. These are emails that are automatically sent when selected events occur related to form submissions.
The default notification is to send an email to the site admininstrator. You’ll probably want to add a notification for the customer to remind them what they ordered, and here you can add any other information that you’d like the customer to know at this stage: your returns policy, customer service contact details etc.
See the Gravity Forms documentation for more information about notifications.

Adding the form to your site
Gravity forms are embedded using shortcodes like this:
[gravityform id="67" title="true" description="true"]
Refer to the Gravity Forms documentation for more information.